Reliable Block & Paver Border-Cutting Techniques
Nate Lynch, Owner of Special Additions Landscaping, LLC
Cutting concrete and pavers isn't an especially difficult skill to learn, but it does take some time to perfect.
Assuming you don't have several projects to obliterate prior to doing your own, I've decided to reveal my most
guarded secrets of block-cutting to the lucky few who've happened to stumble upon our website. Why reveal such
protected information free of charge? I'll tell you why… Because although only a handful of individuals
currently know the secrets of these priceless techniques, the knowledge itself appears to have no cash value
(the same can be said of landscaping in general).
Recommended Tools: 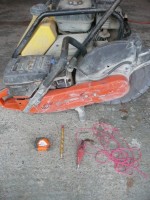
- Hot Saw/Concrete Saw
- Plumb Bob
- Tape Measure
- Sand
- Plate Compactor
- Marking Utensil
- Blocks
This step-by-step tutorial will feature a project of my own. I live in Spokane, Washington and installed
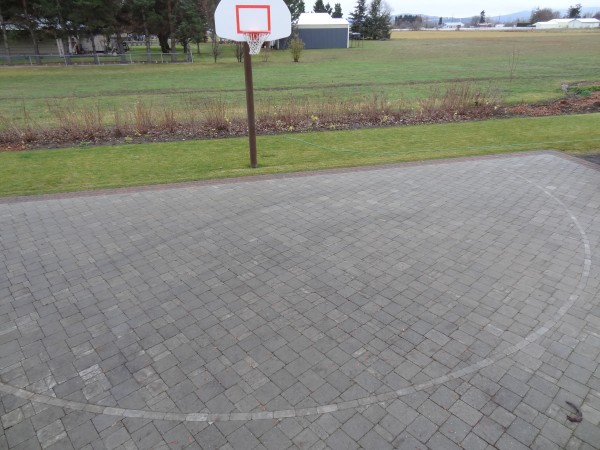
a basketball hoop and paver driveway several years ago at my home. Now I'm ready to cut in the 3-point line.
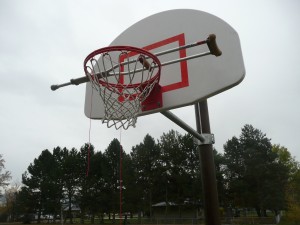
Step 1: I'm hanging a plumb-bob from the center of the basketball hoop in order to give
myself a fixed location from which to measure the distance of the 3-point line (confession: I'm bad at
basketball and a cad. Therefore, my 3-point line will be installed at a shorter distance than normal,
so I can occasionally make a shot).

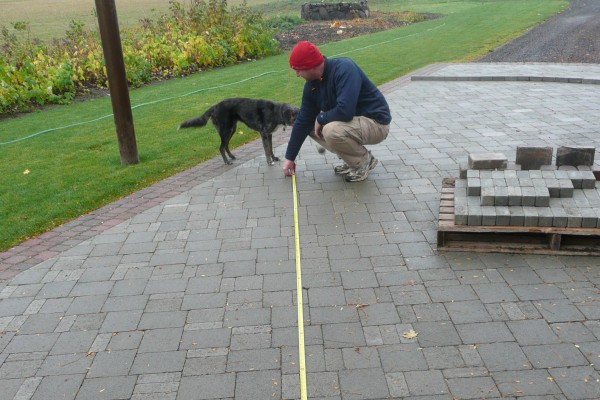
Step 2: With the help of a friend, I'll measure from the located point to the inner-half
of the 3-point line. I'll make approximately 30 marks with a piece of chalk/marker/pencil in a radius from that
point. My 3-point line will be only 18'6" from the rim.
Step 3: This paver driveway is made of a product called "Old Countrystone" that is
manufactured by Abbotsford of Canada. The color is simply that of natural concrete, and is aptly
named "Natural". Old Countrystone comes in 8-colors, many more interesting than "Natural", but I'm a boring
person with little personality and I was drawn to its beauty. Old Countrystone comes in 3 sizes, and for the
border I've chosen the smallest size. It's shaped like a Twinkie, but strangely it's called a "Type III"
paving block. Following the inner line I've drawn, I lay the pavers end-to-end until I've completed the
half-circle of the 3-point line.

Step 4: With a fine-point drawing instrument, I outline both sides of the block,
trying to stay as tight to the paver as possible.

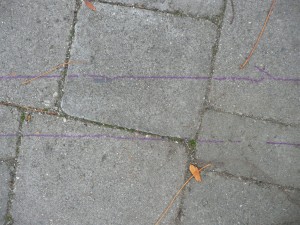
Step 5: After removing the block, I've revealed the outline of the 3-point line.
Taking my concrete saw-ideally it's running at this point-I make a light cut to outline the block. I like to
move quickly. I've found there's less likelihood for "squiggles" if I can walk with the saw at a penguin-esque
pace. I've tried a turtle-esque crawl and a rabbit-esque hop, but the penguin-esque waddle has really paid
dividends for me.
We're only scoring the block at this point, not actually cutting through the pavers. If you score the
block prior to making the full cut, you won't lose the original line in the dust and/or water. If you marked
the cut with chalk, it will blow away while you're cutting. If you used a marker/pencil the velocity of the
blade and fine debris will fade the mark prior to finishing the cut.
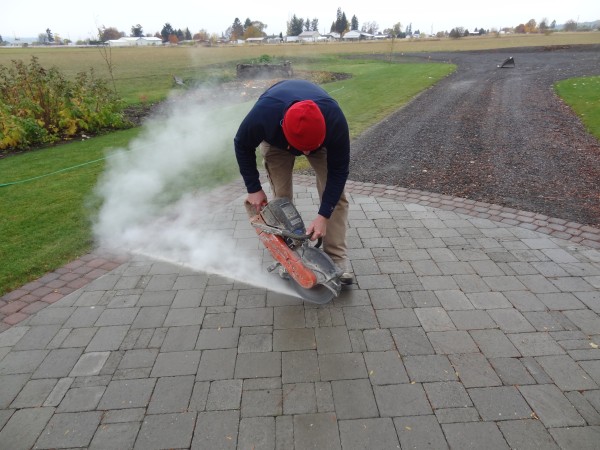
Question: Why do I cut without the wet-saw attachment that's available on most concrete saws?
Answer: There are several great reasons to cut with water: no dust, blade life, quicker cutting.
I would argue that the positives of wet-cutting are outweighed by the negatives. The first problem with cutting wet
is that you're adding water to an already unstable area. This can create a soup-like consistency in the sand, which
may take hours to re-stabilize-therefore slowing progress. There's also an issue with adding water to concrete dust.
Behind the cut you're creating instant concrete as the velocity of the blade and expelled concrete dust mix with the
water. That mud can be sprayed on a nearby home, plants, pavers, etc. On a hot day, it can dry before you have time
to wash it off.
Step 6: Finish the cut. Here's the important part: on a two-sided cut like this, the saw
must be held at a 90-degree angle to the cut. On most border cuts I would advise that the saw be held at a
75-90-degree angle to the pavers because you're intentionally trying to "miss" the cut so the border-block can be set
tightly to the paver field. In this case, if the block isn't cut at a 90-degree angle, you'll have at least one of two
problems: (1) you won't (easily) be able to remove the waste-block from inside the field, or (2) the new "type III"
blocks you're attempting to install won't fit because they're blocked-off by the bottom side of the protruding cut.
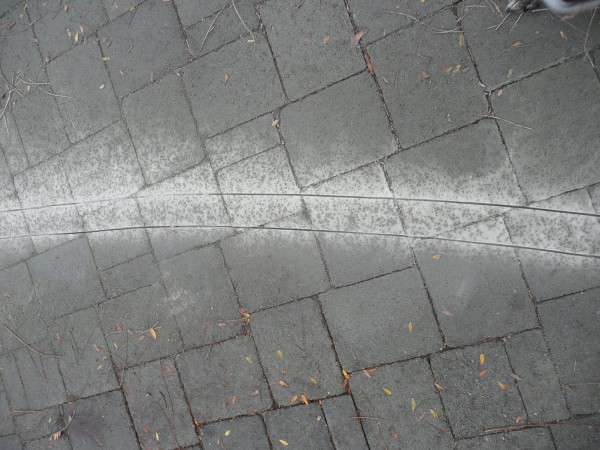
Step 7: Now that you're installing the 3-point line block, you'll want to add a minimal
layer of new sand to the empty space prior to installation. When you're cutting, the blade will spit sand
backward as you move forward. This will leave a shortage of bedding sand following the cut. You won't notice this
until you've re-compacted the area. If you've added no replacement sand, the 3-point line will sink lower than the
rest of the court. If anything, make sure to miss on the high side. A plate compactor will naturally level out
high areas as it moves across the paver field. Prior to compacting, sweep some fine sand into the area to seal/finish
the pavers.

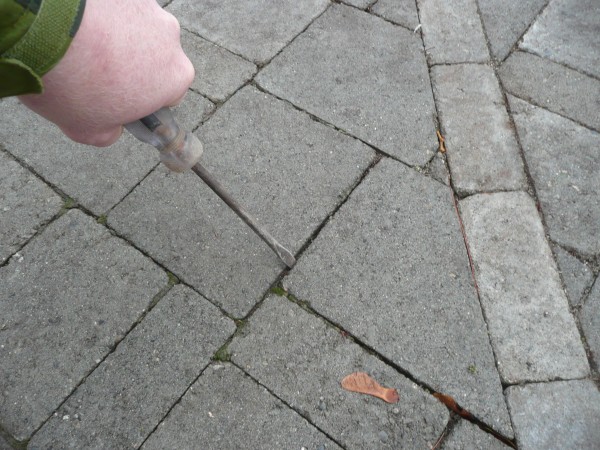
Step 8 (Optional): If you've mistakenly made the cut too wide, don't worry-we can fix that.
Simply take a large flat-head screwdriver and manipulate the "field" of pavers on both sides of the cut toward the
new 3-point line. This will eliminate a wide gap, and the mistake can be hidden by "cheating" the blocks toward the gaff.
Step 9: I assume you're satisfied with the information and that you've found it to be sound.
Please send a check in the amount of 12-cents to Special Additions Landscaping, LLC when convenient.
