Stone Retaining Wall Basic Techniques
Nate Lynch, Owner of Special Additions Landscaping, LLC
As a landscape contractor, I've had the opportunity to build hundreds of retaining walls. I consider myself fortunate to have simple access to the numerous types of stone available within the 200-mile radius of which we typically work. The variety of stone available in the Greater Spokane area and North Idaho is unmatched.
This portion of our website highlights tips and techniques I've picked up over the years concerning stone retaining wall construction. I've broken down this "Stone Retaining Wall Basics" section into two parts:
- Structural Laws and
- Aesthetics
Structural Laws of Stone Retaining Walls:
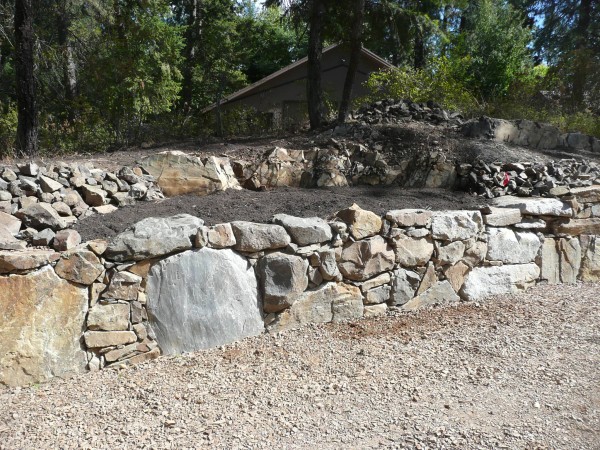
Law #1: Half-A-Foot of Footing. Your retaining wall will be short-lived without a solid footing. On most walls, a 6" compacted layer of crushed stone provides an adequate base prior to beginning the wall's construction. The footing will stabilize the wall, and give some light drainage at the wall's base. Without a footing, the wall will be more apt to move during freeze/thaw cycles. Over time, that movement will destabilize the wall and possibly lead to its failure as the stones are shifted by the heaving ground.

Law #2: Fear the "Burp"
I remember a 20' tall, 80' long retaining wall that was built in the Spokane Valley in the late 1990's. The wall was nearly vertical, and had been built to accommodate a drainage swale located between a home and a public road. Unfortunately, the Landscape Contractor had taken several "budgetary" shortcuts during the wall's construction. I drove to one of my own projects on that road every day. One morning, after a severe rainfall, I drove past the location and was amazed to see the entire wall had "burped" and was now in a huge, ugly pile on the side of the road. What happened?
ANSWER: The Contractor-probably trying to save money and/or meet the client's budget-had cut corners. His biggest mistake was backfilling the 20' retaining wall with native soil (in this case, clay). During the storm, the rainwater had saturated the backfill, quadrupled the weight of the soil, and eventually "burped" at a weak point of the wall. The fractured weak spot led to the destruction of the entire project.
SOLUTION: A wall of this size would require serious engineering, but it's always important to backfill a retaining wall with compacted, drainable stone. Chipped rock with some fines is preferable-never backfill with smooth stone as it has no binding characteristics. Why stone? Water will flow freely through it, and it won't "gain weight" as wet soil does.

Law #3: Perf It! At the base of your retaining wall, it's always a good idea to install a perforated drain pipe which outlets to the front of the wall. The idea behind installing a "perf pipe" is to allow a retaining wall that's saturated the ability to relieve itself before the pressure can cause failure. Just as in Law #2, we're attempting to remove water from behind the wall. Any water collecting at the base of the wall will accumulate in the perforated pipe, rise, and then outlet to the face of the wall. Simply put, it would be like drilling a hole at the bottom of a bucket of water.

Law #4: Keep it Clean. When backfilling a retaining wall with crushed stone, you'll want to buffer the new fill from the existing/native soil. How? Filter fabrics are manufactured specifically for this type of application. Starting below the footing, the fabric would be installed between the imported stone backfill and the native soil. There's no structural benefit to the fabric, but it will allow water to pass from the soil to the gravel without contaminating the stone. Without the fabric, the soil would mix with the stone and negate the benefits of the crushed drain rock.

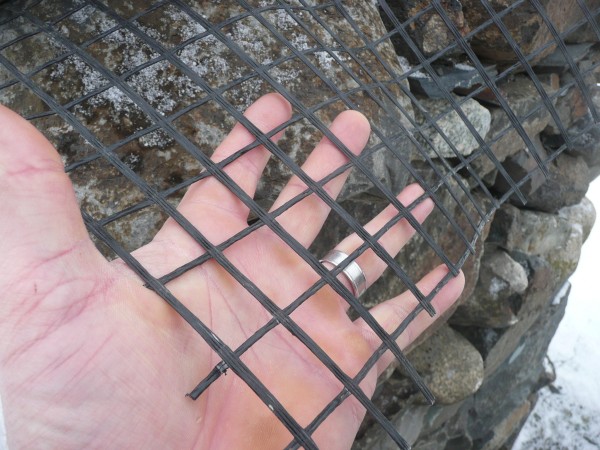
Law #5: Geo-What-Now? In walls over 4' in height, it's a good idea to the have your retaining wall professionally engineered. Inevitably, the engineer will specify the use of geotextile grids. Geotextiles stabilize the materials behind the wall. Explaining the theory behind geotextiles is quite complicated… Perhaps the easiest way to illustrate their importance is this: they're really, really expensive.

Aesthetic Components of Wall Construction:
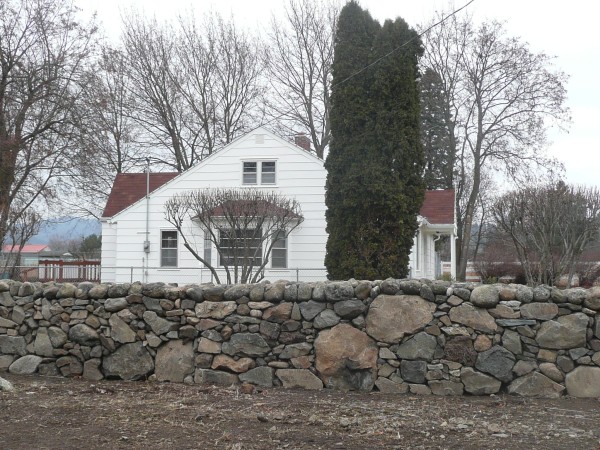
Law #1: The Source. Where are you getting your stone from? Hopefully the answer is the same location as where you just built your house. I prefer projects that blend with their native surroundings. There's nothing worse, in my mind, than an independent island of granite arising from a sea of basalt. First and foremost, consider your own surroundings. And, of course, don't fight them.
See Rock n' Walls in our "Selected Projects" section for a great example of finding stone at The Source. Excluding the stair stone, each and every stone pictured was found on this homeowner's own site.

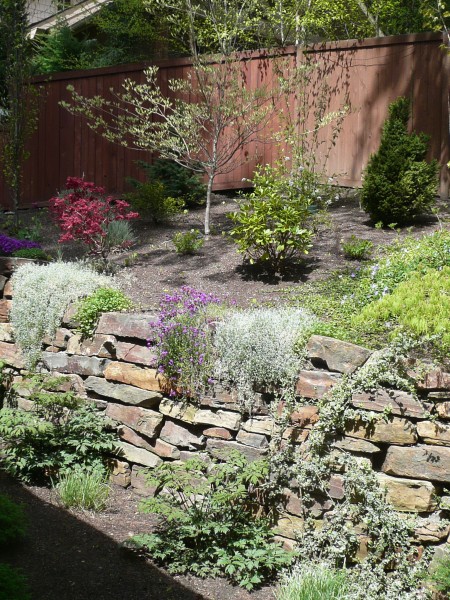
Law #2: Don't Confuse Your Lines, but Break Them. Retaining walls are naturally linear-longer than they are high in almost every application. Visually, you're creating an expanse of stone on a horizontal line. That being so, the stone you've chosen to construct the wall should ideally be laid so its longest side will follow the natural horizontal line. The vertical lines in the wall should be short. As you add courses to the retaining wall, break the vertical lines at every layer. Not only is this more visually appealing, but the result is also stronger structurally.

With a little practice, a good stone-layer may experiment with several sizes of stone and 'play' with the dominant horizontal line of the wall. This can add an extremely interesting element to the appearance of the retaining wall. In addition, mixing large stones into a wall that might otherwise have used only smaller rock will strengthen the overall product.

Law #3: Face It. As you're laying the stone lengthwise, you'll also want to "face" the flattest side of the rock from the wall. The easiest way to do this is to backfill the retaining wall above the height of the stone as you build. Doing so will allow you to "shim" each stone in the correct orientation using the fill behind it.
A word to the wise: don't let one uncooperative stone stop progress. Negotiate only for a minute or two, and move on. It never fails to surprise me how a few "gap-fillers" at the end of the project can benefit the overall quality of the walls appearance.

Recommended Reading: Here are three terrific books about working with stone/
- Listening To Stone by Dan Snow. 2008. My favorite read about stonework. The book highlights Mr. Snow's greatest creations-all dry-stacked. A great read for someone who wants to think outside the box. Astonishing works of art held together by… Gravity.
- Stone Primer by Charles McRaven. 2007. A start-to-finish stone-working book. A bit of "how to" and some incredibly creative stone applications.
- Stone by Design by Lew French and Allison Shaw. 2005. Extremely detailed stonework-inside and outside the home. Dry-stack applications, and rare masonry feats. Some truly unbelievable projects reviewed in detail.